Travel Photography Guide 2026: Cameras, Composition & Honest Gear Advice
Phone vs mirrorless, one-lens philosophy, golden hour math, and the editing workflow that actually fits a travel schedule.
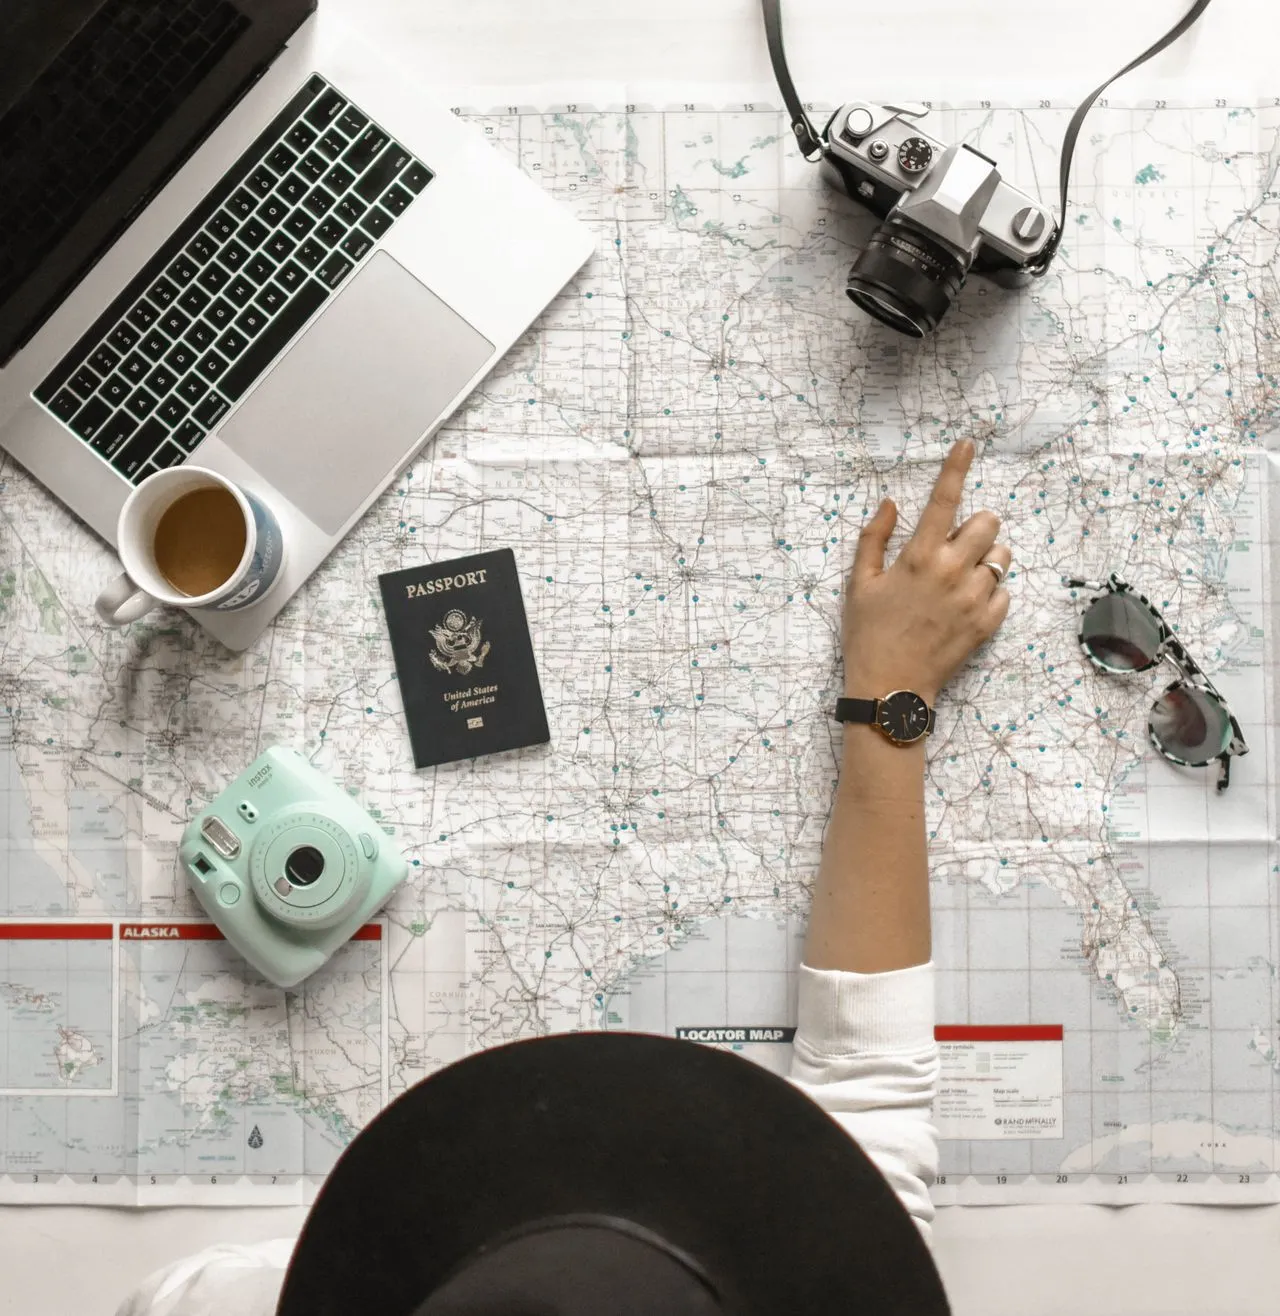
I have taken roughly 200,000 travel photos across 40-something countries over the past decade, and the uncomfortable truth is this: my best shots were not taken with my most expensive camera. They were taken when the light was right, the composition was deliberate, and I actually had a camera in my hand instead of buried in my daypack because it was too heavy to carry. The travel photography conversation in 2026 is dominated by gear reviews and spec sheets, but the gap between a good travel photo and a forgettable one has almost nothing to do with sensor size. It has everything to do with timing, patience, and a handful of composition principles that take 20 minutes to learn and a lifetime to master. This guide covers the full picture: which camera to carry, which lens to pair it with, how to compose shots that hold up years later, how to edit efficiently on the road, how to protect your gear in hostile environments, what your phone can already do that you are probably ignoring, where you can and cannot fly a drone, and how to build a portfolio that actually represents the places you have visited. The honest take throughout: the best camera is the one you carry.
Camera Choice: Phone vs Mirrorless vs Compact — The Honest Assessment
The camera decision is the first fork in the road, and it is more nuanced than the internet suggests. In 2026, you have three realistic options for travel photography, and each involves a genuine trade-off between image quality, weight, and the likelihood that you will actually use it. Option 1: Your phone. The iPhone 16 Pro ($999) and Google Pixel 9 Pro ($999) shoot 48-megapixel images, support RAW capture, and deliver computational photography that handles dynamic range, night scenes, and portrait depth in ways that required a $3,000 camera five years ago. The phone is always in your pocket, weighs nothing extra, and connects directly to your editing and sharing workflow. For social media, blog posts, and prints up to 16x20 inches, a flagship phone in 2026 produces images that are genuinely excellent. The limitation is real but narrow: phones struggle with fast-moving subjects in low light, optical zoom beyond 5x degrades noticeably, and you have limited control over depth of field. Option 2: Mirrorless. The Sony A7C II ($2,198 body only) is the travel mirrorless benchmark in 2026 — full-frame sensor, 33 megapixels, outstanding autofocus, and a body that weighs 514 grams. The Fujifilm X-T5 ($1,699 body only) uses a smaller APS-C sensor but delivers Fuji's famous colour science, weighs 476 grams, and pairs with compact lenses that keep total kit weight under 900 grams. A mirrorless camera gives you dramatically better low-light performance, true optical zoom range, shallow depth of field control, and RAW files with significantly more editing latitude than phone RAW. The cost is weight (body plus lens plus batteries plus charger adds 1-1.5kg to your pack), bulk (it does not fit in a pocket), and the friction of actually pulling it out, powering it on, and composing a shot instead of just raising your phone. Option 3: Premium compact. The Ricoh GR IIIx ($999) and Sony RX100 VII ($1,298) occupy the middle ground — larger sensors than phones, fixed or limited zoom lenses, and bodies that slip into a jacket pocket. They sacrifice lens flexibility for portability and represent a genuine compromise that works well for street photography and casual travel documentation. My honest recommendation: if you are not printing large, not shooting professionally, and not specifically passionate about photography as a craft, your phone is enough. If you are passionate about photography and willing to carry the weight every single day of a trip, the Sony A7C II or Fuji X-T5 will reward you with images your phone cannot match. The camera you leave in the hotel room because it is too heavy produces zero good photos.
Editor's tips
- Rent before you buy — BorrowLenses and LensRentals ship mirrorless kits for $150-250/week, letting you test on an actual trip before committing $2,000+
- If choosing mirrorless, buy used from MPB or KEH to save 25-40% — camera bodies depreciate fast, but image quality does not
- The best camera is the one you carry — a phone photo taken beats a mirrorless photo missed
The One-Lens Philosophy: Why Carrying Less Produces Better Photos
The single most impactful gear decision for travel photography is not which camera to buy — it is committing to one lens and leaving the rest at home. This feels counterintuitive. Surely more lenses mean more flexibility, more creative options, more coverage of the scenes you will encounter? In practice, the opposite is true. Carrying multiple lenses means a heavier bag, more time spent swapping glass in dusty or humid environments, more anxiety about dropping or losing expensive equipment, and — critically — more decision paralysis about which lens to mount for any given scene. The one-lens philosophy forces you to work within constraints, and constraints breed creativity. You cannot zoom to 200mm to isolate a distant subject, so you walk closer, find a different angle, or compose the shot with the environment included. You cannot open to f/1.4 for extreme background blur, so you use leading lines or framing to separate your subject from the background. The images become more intentional because the tool is simpler. If you shoot full-frame (Sony A7C II, Canon R6 III): the 24-70mm f/2.8 is the classic one-lens travel choice. It covers wide-angle landscapes at 24mm, environmental portraits at 50mm, and moderate telephoto compression at 70mm. The Sony 24-70mm f/2.8 GM II ($2,298) is optically outstanding but heavy at 695 grams. The Tamron 28-75mm f/2.8 G2 ($879) delivers 90% of the optical quality at 40% of the price and 540 grams. For maximum range at the cost of maximum aperture, the Tamron 28-200mm f/2.8-5.6 ($729) is the ultimate one-lens travel solution — it covers everything from wide to telephoto in a single 575-gram package. You lose the f/2.8 aperture at longer focal lengths, which matters in low light, but you gain the ability to shoot a Balinese temple at 28mm and a Santorini rooftop detail at 200mm without changing glass. If you shoot APS-C (Fuji X-T5, Sony A6700): the Fuji 18-55mm f/2.8-4 ($699) is the equivalent one-lens choice — light, sharp, and versatile. The Tamron 18-300mm f/3.5-6.3 ($699) provides superzoom coverage for travellers who want wildlife and architecture reach without carrying a second body. The discipline of one lens also reduces the temptation to over-shoot. When you know your focal range, you pre-visualise compositions before raising the camera. That pre-visualisation is what separates intentional travel photography from pointing a camera at everything and hoping something works.
Editor's tips
- If you cannot decide between two lenses, pick the wider one — you can always crop in post, but you cannot un-crop a tight shot
- The Tamron 28-200mm f/2.8-5.6 at $729 is the best value one-lens travel solution in 2026 — it replaced three lenses in my kit
- Clean your lens daily with a microfiber cloth and a LensPen ($12) — a dirty front element degrades image quality more than a cheaper lens would
Composition Rules That Actually Improve Travel Photos
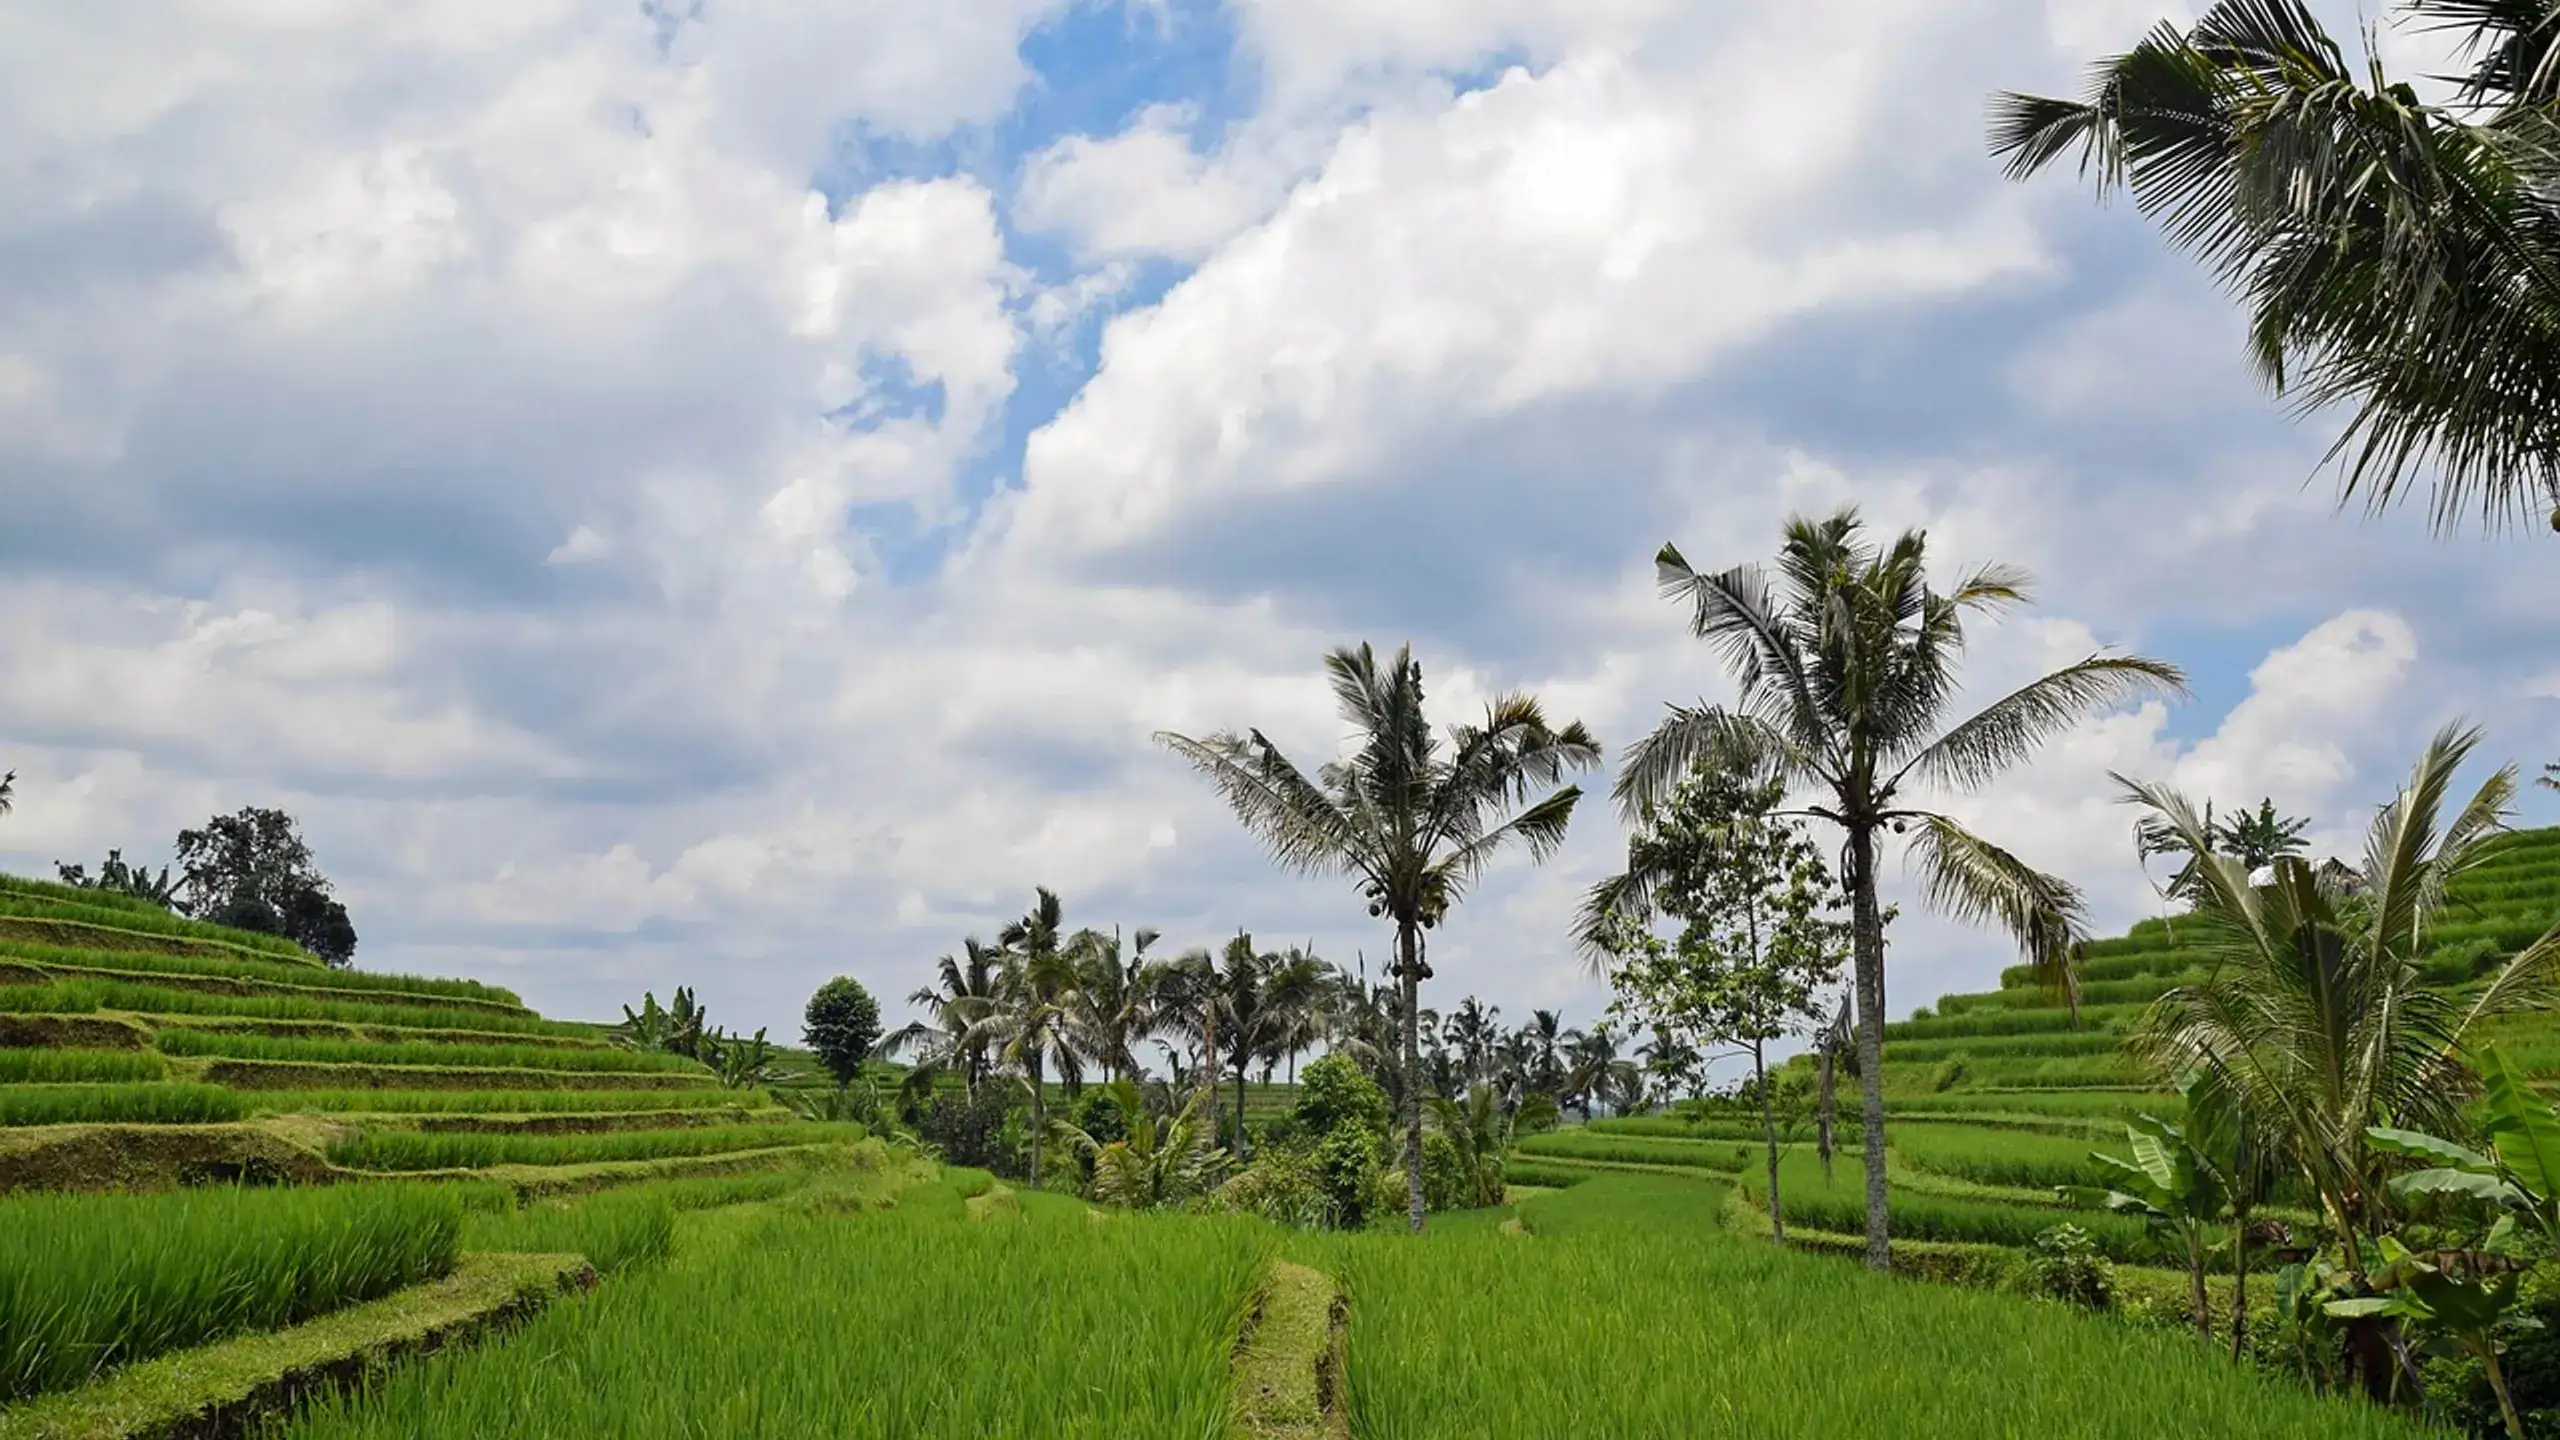
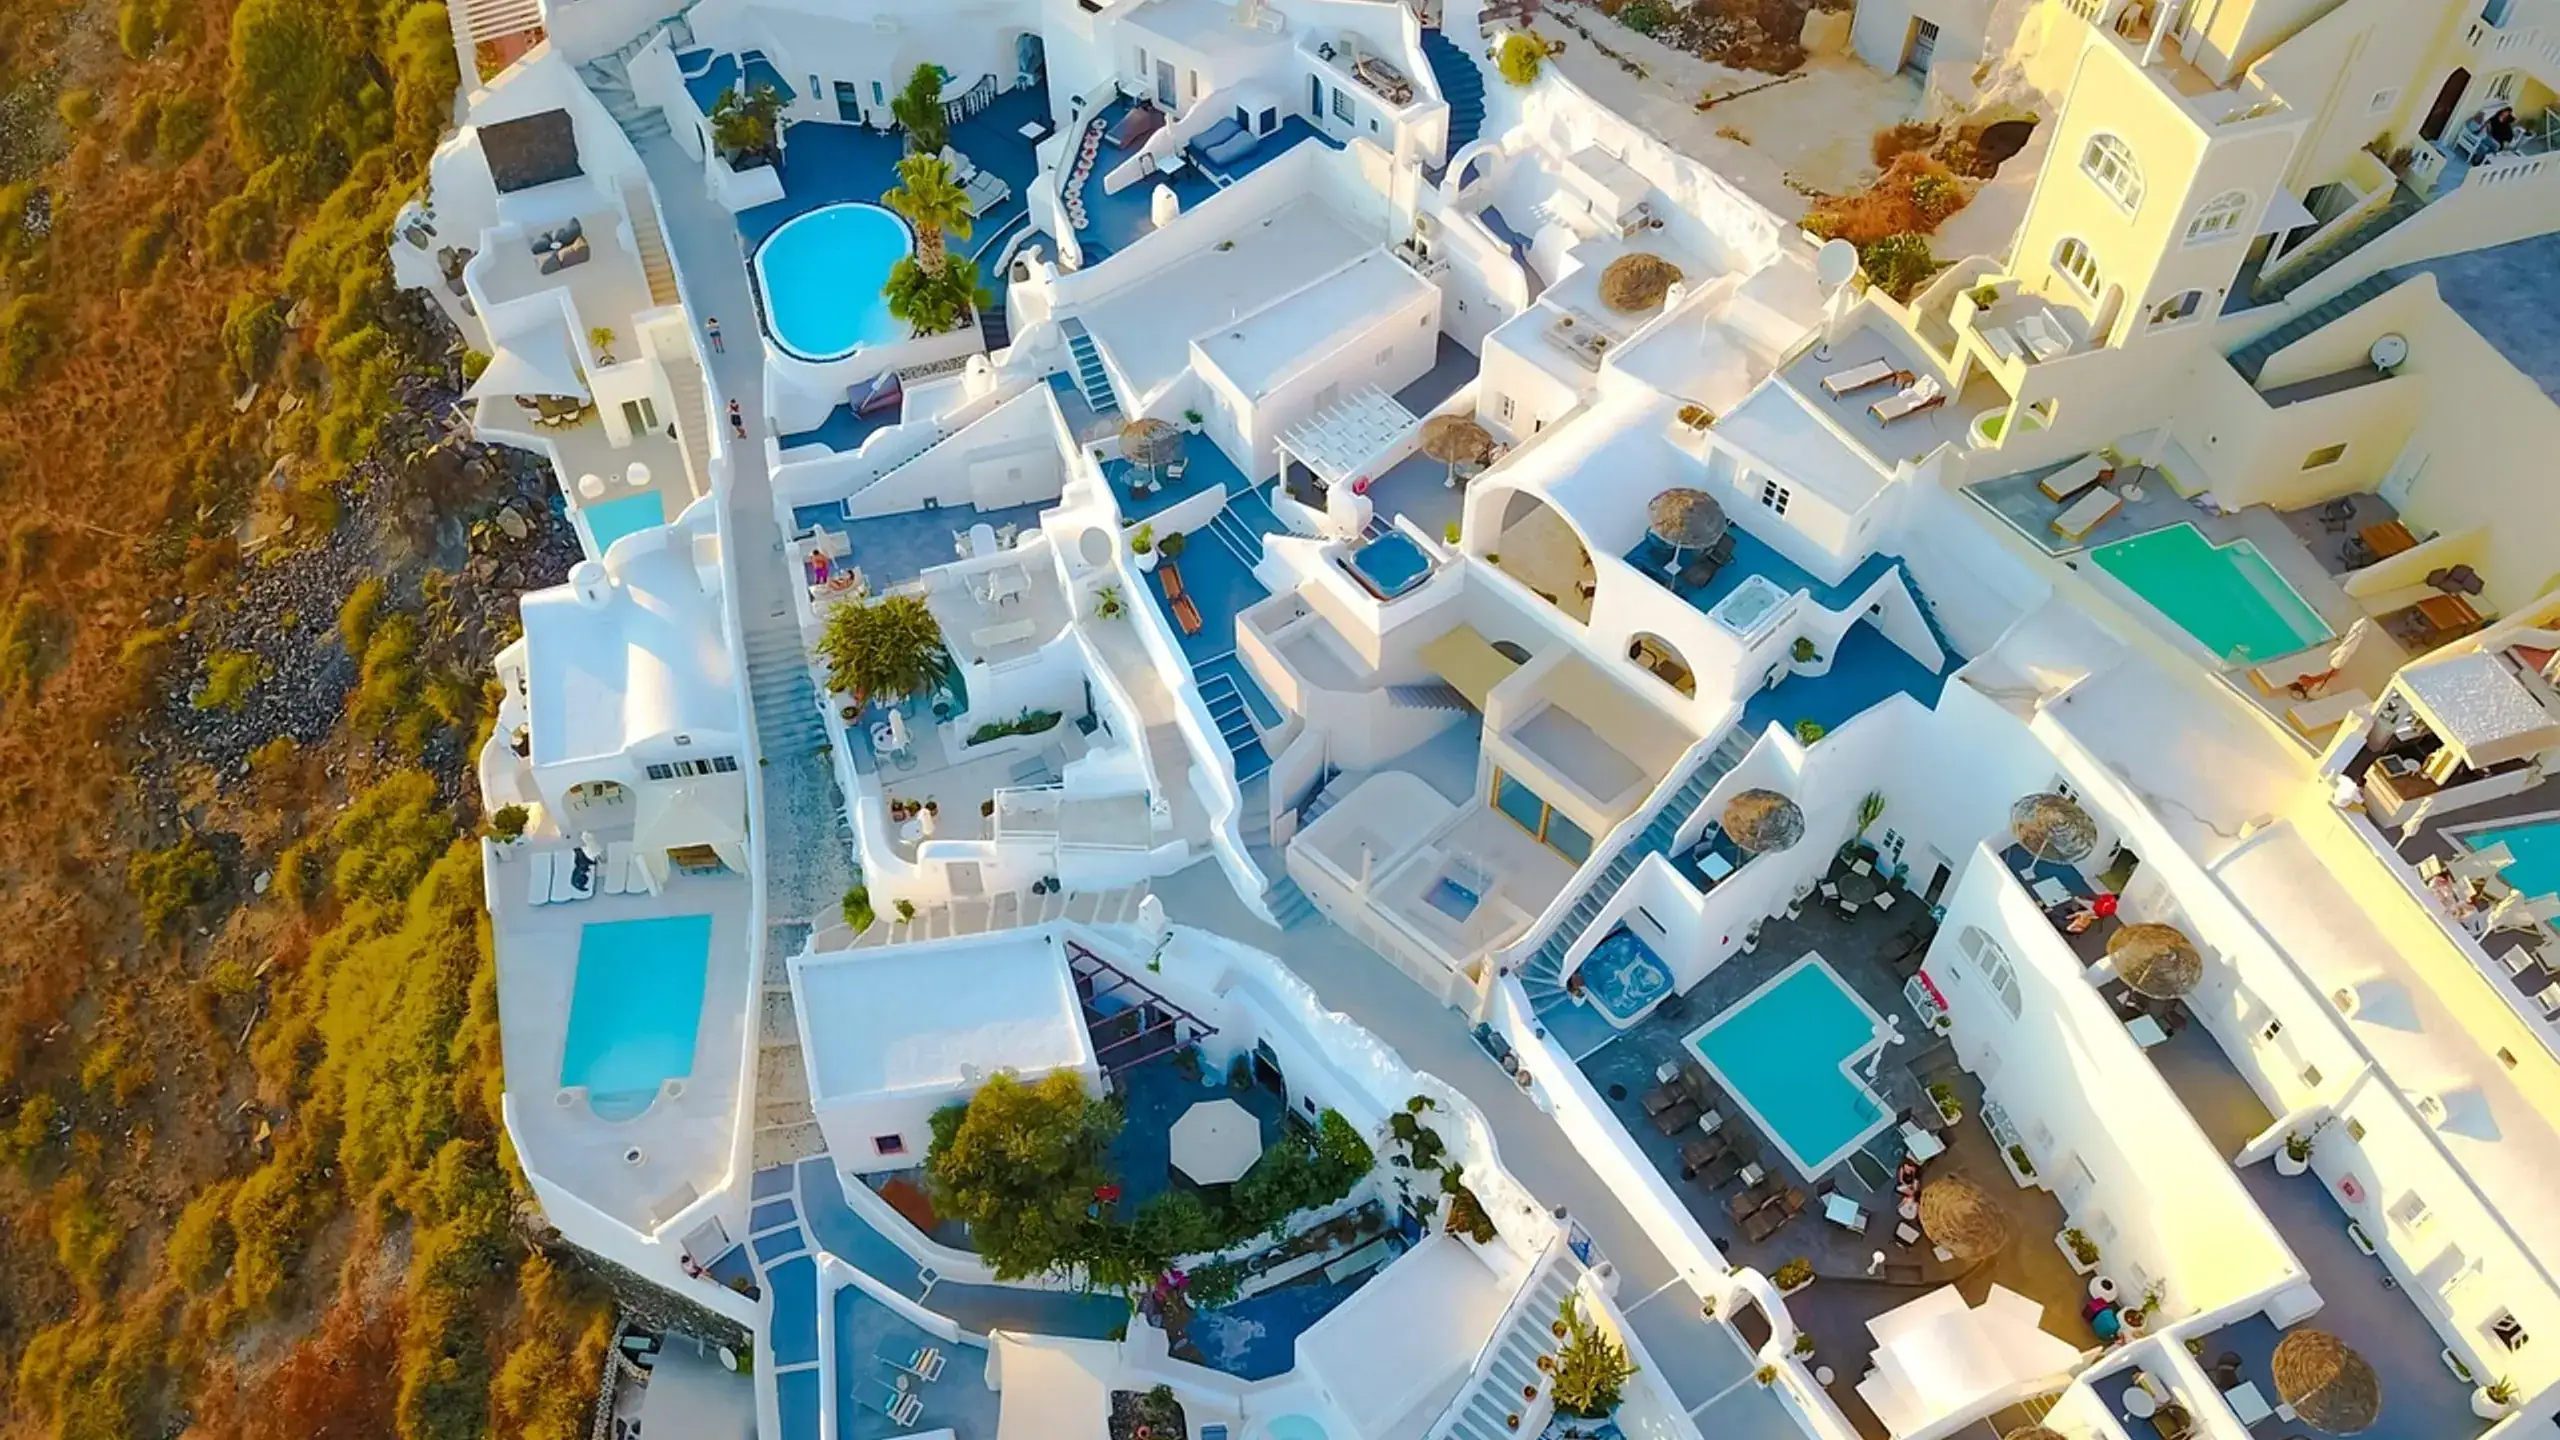
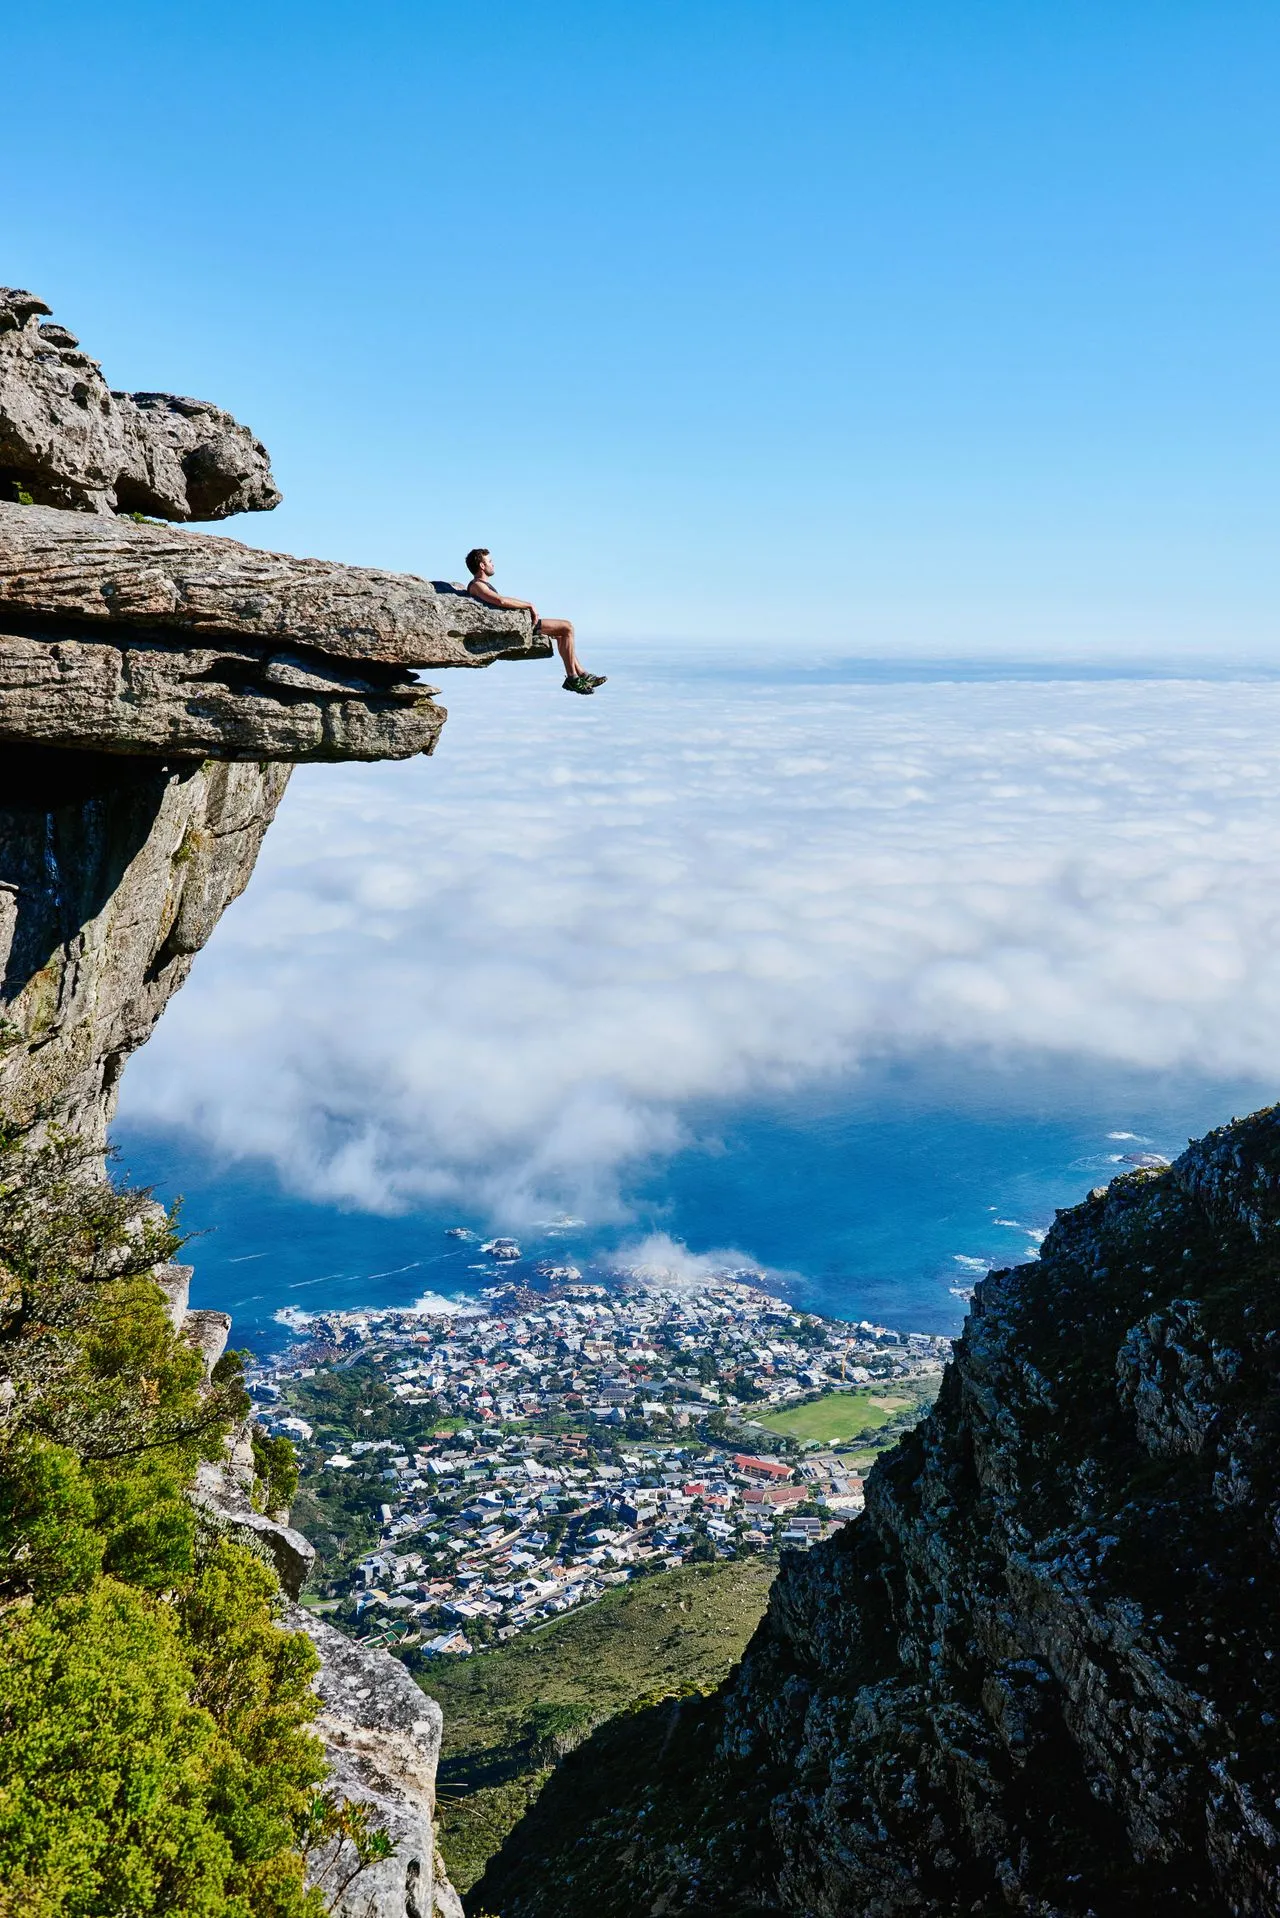
Composition is where the real gap exists between a snapshot and a photograph, and the good news is that the principles are learnable in an afternoon and applicable immediately. Rule of thirds. Divide your frame into a 3x3 grid (most cameras and phones display this as an overlay) and place your subject at one of the four intersection points rather than dead centre. A temple placed at the left-third intersection with open sky occupying the right two-thirds creates visual tension and a sense of place. A portrait with the subject's eyes on the upper-third line feels natural and balanced. The rule of thirds is the single most impactful composition principle and the reason most professional photos feel 'right' even when you cannot articulate why. Leading lines. Roads, rivers, fences, shorelines, bridges, and architectural edges naturally draw the viewer's eye through the frame. Position yourself so that a leading line enters the frame from a corner or edge and directs attention toward your subject. A cobblestone street in a European old town leading toward a church spire is a leading line. A Bali rice terrace edge curving toward a distant volcano is a leading line. Train yourself to see lines before you see subjects, and your compositions will improve immediately. Foreground interest. The most common mistake in landscape travel photography is composing a shot with a beautiful background and empty foreground. Adding a foreground element — rocks on a beach, flowers in a meadow, a coffee cup on a railing with a cityscape behind — creates depth and pulls the viewer into the scene. The photo stops being a flat record of a view and becomes an immersive image with layers. Golden hour math. The quality of natural light changes dramatically throughout the day, and the difference between shooting at noon and shooting during golden hour is the difference between flat, harsh images and warm, dimensional ones. Golden hour is the roughly 60 minutes after sunrise and 60 minutes before sunset when the sun sits low on the horizon, producing warm-toned directional light with long shadows. Apps like PhotoPills ($10.99, iOS and Android) and The Photographer's Ephemeris ($9.99) calculate exact golden hour times for any location on any date — including the sun's position on the horizon, which determines where shadows will fall. At Santorini's Oia in late June, golden hour begins at approximately 7:45 PM and the sun sets around 8:42 PM. In Bali's Ubud in December, golden hour starts at about 5:15 PM with sunset at 6:13 PM. Planning your shooting around these windows transforms your results. Blue hour. The 20-30 minutes after sunset (and before sunrise) produce a deep blue sky that pairs beautifully with artificial city lights, neon signs, and illuminated monuments. Blue hour is when iconic city photography happens — the sky is dark enough to show building lights but bright enough to retain colour and detail.
Editor's tips
- Enable the grid overlay on your phone camera (Settings > Camera > Grid on iPhone) — it makes rule of thirds placement instinctive
- Arrive at a location 30 minutes before golden hour to scout compositions while the light is still neutral
- Shoot the same scene at three different heights — standing, crouching, and ground level — and compare the results
Editing on the Road: Lightroom Mobile vs Snapseed vs Free Alternatives
Post-processing is where good travel photos become great ones, and the editing workflow you choose needs to fit the reality of travel — limited time, variable internet, and the desire to share images before you forget why they mattered. Adobe Lightroom Mobile ($9.99/month, iOS and Android) is the professional standard for mobile photo editing. It shoots and imports RAW files directly, offers non-destructive editing with full adjustment history, syncs presets across devices, and provides masking tools that let you selectively adjust exposure, colour, and sharpness in specific areas of the frame. The subscription includes 20GB of cloud storage for syncing edits between your phone and desktop. For serious travel photographers who edit RAW files and want consistency across hundreds of images, Lightroom Mobile is the clear choice. The cost adds up — $120/year — but for photographers producing portfolio-quality work, it is a legitimate professional tool. Google Snapseed (free, iOS and Android) handles 80% of what Lightroom does at zero cost. Its selective adjustment brush, healing tool, HDR scape, and perspective correction cover the most common travel photo improvements. Snapseed works entirely offline, processes files quickly, and has no subscription, no account requirement, and no cloud dependency. The limitation is workflow: Snapseed edits are destructive (applied permanently to the file), it does not support batch editing or presets that sync across devices, and its RAW support is functional but less refined than Lightroom's. Free alternatives worth knowing: VSCO (free tier with limited filters, premium at $29.99/year) provides film-simulation presets that give travel photos a distinctive analog aesthetic. Darkroom (free tier, premium at $49.99/year) is iOS-only but integrates deeply with Apple Photos and supports batch editing. The practical travel editing workflow I use: shoot RAW on mirrorless and ProRAW on iPhone, import to Lightroom Mobile each evening over hotel WiFi, apply a base preset (exposure, white balance, tone curve), make selective adjustments to 10-15 hero shots per day, and export finished images at 2048px long edge for sharing. Total editing time: 20-30 minutes per day. The key insight: edit the same day you shoot. The emotional connection to the scene is fresh, you remember what the light actually looked like, and you avoid returning home to 5,000 unedited images that you will never process. For phone-only shooters: Snapseed is more than sufficient. Shoot in the highest quality JPEG your phone offers (or ProRAW on iPhone), edit in Snapseed during downtime, and share directly. The workflow is simpler, faster, and produces results that are genuinely excellent for social media, blogs, and prints up to 12x18 inches.
Editor's tips
- Create 2-3 Lightroom presets before your trip based on the colour palette you expect — warm for desert/beach, cool for northern landscapes, neutral for cities
- Edit your hero shots the same evening you shoot them — context fades fast and a 5,000-image backlog is demoralising
- Snapseed's 'Selective' tool lets you brighten a dark foreground without blowing out the sky — tap, pinch to set area, swipe right to increase brightness
Protecting Your Gear: Rain, Humidity, Theft, and Insurance
Travel environments are hostile to camera equipment in ways that your home environment is not. Salt air corrodes lens coatings. Tropical humidity breeds fungus inside lenses. Sand jams zoom mechanisms. Rain destroys electronics. Pickpockets target camera bags in tourist areas. Protecting your gear is not optional — it is a core part of the travel photography workflow. Rain protection. A dedicated rain cover like the Peak Design Shell ($59-89 depending on size) protects your camera and lens while maintaining full shooting access. For budget protection, a large Ziploc bag with a hole cut for the lens achieves 80% of the same result at 1% of the cost. The real risk is not heavy rain that you see coming — it is unexpected drizzle or spray near waterfalls and coastlines that catches you off guard. Keep a microfiber cloth accessible at all times for quick lens drying. Humidity and fungus. In tropical destinations like Bali, Thailand, and Costa Rica, humidity above 60% creates conditions for lens fungus — a coating that grows on internal lens elements and is expensive to remove professionally ($150-300 per lens). Prevention: store your camera bag with silica gel packets (buy a 50-pack for $8 on Amazon), avoid leaving gear in sealed bags overnight in humid environments, and if your hotel room has air conditioning, store gear in the dry AC environment rather than in a closed bag. Theft prevention. Camera theft is a real risk in major tourist destinations. Use a bag that does not look like a camera bag — the Peak Design Everyday Backpack ($289) and Moment Rugged Camera Sling ($129) are designed to look like regular bags while providing padded camera compartments. Never leave camera gear visible in a parked car. In high-risk areas (markets, festivals, crowded transit), keep your hand on your bag at all times and consider a cross-body sling that sits against your torso rather than behind your back. Insurance. Dedicated camera insurance through providers like TCP (The Camera Protector) or through your homeowner's/renter's insurance rider covers theft, accidental damage, and loss worldwide. A typical policy for a $3,000 kit costs $150-250/year with a $250 deductible. If you are carrying $2,000+ in camera equipment internationally, insurance is not optional — a single theft incident or drop on cobblestones can cost more than years of premiums. Check your travel insurance policy: some comprehensive travel policies include camera equipment coverage up to a stated limit, which may eliminate the need for a separate policy.
Editor's tips
- Pack 10-15 silica gel packets in your camera bag for tropical destinations — replace them every 2-3 days when they change colour
- A UV filter ($25-50) on your lens protects the front element from scratches and salt spray — cheaper to replace than the lens itself
- Photograph your gear serial numbers before every trip and email them to yourself — essential for insurance claims and police reports
Phone Photography Hacks: ProRAW, Night Mode, and Panoramas That Work
If you have decided that your phone is your travel camera — and for most travellers in 2026, it should be — there are specific techniques and settings that dramatically improve results beyond the default point-and-shoot experience. ProRAW (iPhone) and RAW capture (Android). Shooting in ProRAW on iPhone 14 Pro and later (or RAW on Pixel and Samsung flagships) captures dramatically more data than standard JPEG — particularly in shadows and highlights. A ProRAW file from an iPhone 16 Pro is 48 megapixels and approximately 25MB, compared to a standard JPEG at 12MP and 3-4MB. The additional data gives you significantly more editing flexibility: you can recover blown-out skies, lift deep shadows, and adjust white balance after the fact in ways that JPEG compression makes impossible. Enable ProRAW in Settings > Camera > Formats > Apple ProRAW on iPhone. On Pixel, use the camera app's manual mode and select RAW output. Night mode. Computational night mode on flagship phones in 2026 produces images that were impossible five years ago without a tripod and a dedicated camera. The phone captures multiple exposures over 3-10 seconds and combines them using AI alignment. The key to getting the best results: hold your phone against a stable surface (railing, wall, table) during the extended exposure, keep your breathing steady, and let the camera complete its full processing cycle before moving. Night mode street photography in cities like Tokyo, Istanbul, and Marrakech produces atmospheric, richly detailed images that showcase a destination's character after dark. Panorama technique. The built-in panorama mode on both iPhone and Android captures ultra-wide scenes by stitching multiple frames as you sweep the phone horizontally. Most people use panorama wrong: they sweep too fast, creating visible stitching errors and warped verticals. The correct technique is slow and steady — move the phone at roughly 5 degrees per second, keep it level (some phones display a horizon guide), and maintain a consistent distance from your pivot point. For vertical panoramas of tall buildings, waterfalls, or narrow streets, rotate your phone to landscape orientation and sweep vertically. Portrait mode for travel. Computational depth simulation (portrait mode) works best at 1-2 metres from your subject with a clean background separation. Use it for food photography, market vendor portraits (always ask permission first), and detail shots of architectural elements. Avoid portrait mode for full-body shots or complex backgrounds with fine detail — the edge detection algorithms still struggle with hair, transparent objects, and busy backgrounds. Burst mode for action. Hold the shutter button (or volume button) to capture 10 frames per second on most flagship phones. Use burst mode for street scenes with moving subjects, waves crashing, birds in flight, and any moment where timing is critical. Review bursts the same day and delete all but the 1-2 best frames to manage storage.
Editor's tips
- Clean your phone lens with a microfiber cloth before every shooting session — pocket lint and fingerprints degrade image quality more than you expect
- Lock exposure and focus by long-pressing the screen on your subject, then slide the sun icon to adjust exposure before shooting
- Use the 0.5x ultra-wide lens on your phone for interior architecture, narrow streets, and dramatic perspective shots — it is the most underused phone camera feature
Drone Regulations by Country and Building a Travel Photography Portfolio
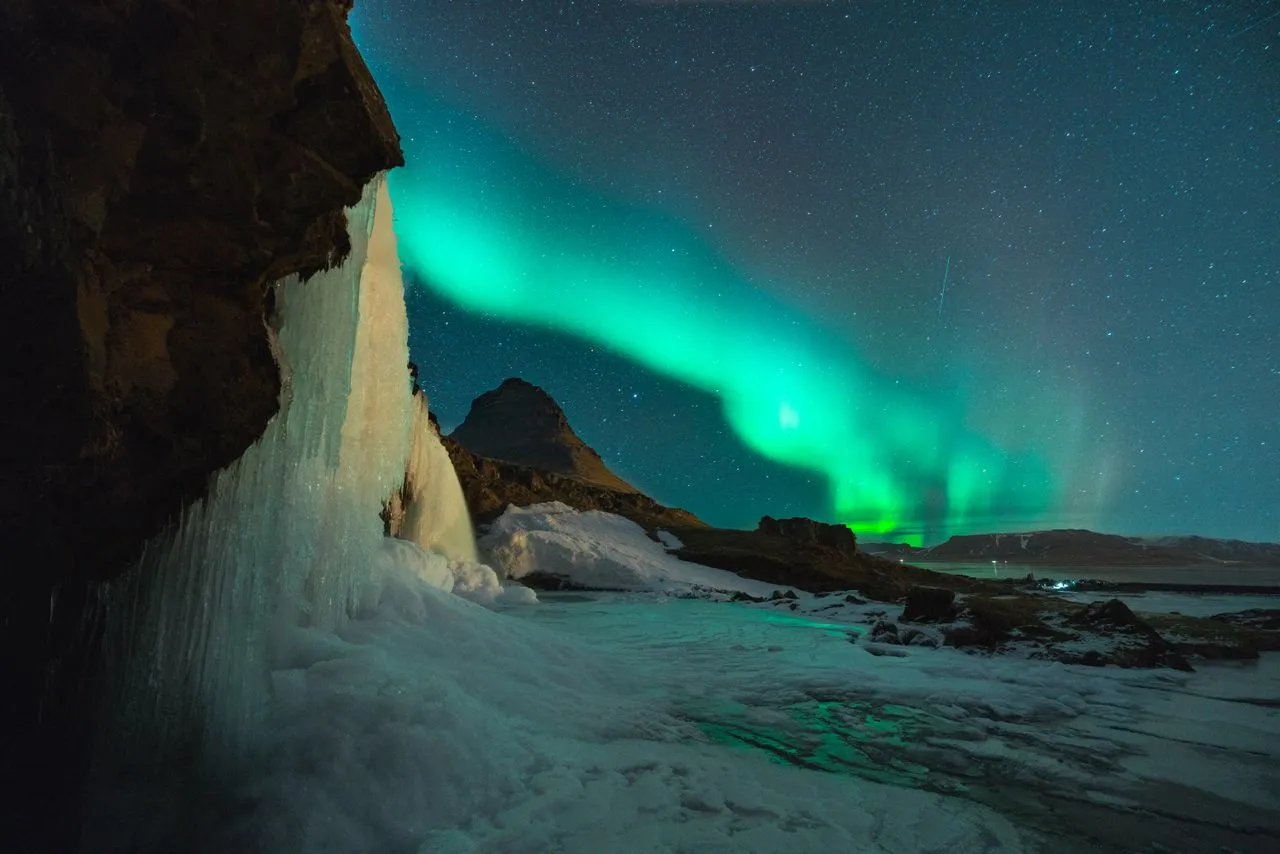
Drone photography adds a dimension to travel imagery that ground-level shooting simply cannot replicate — but the regulatory landscape in 2026 is complex, inconsistent, and carries real legal consequences for violations. Countries that ban recreational drones entirely or effectively: Morocco, Kenya, Egypt, Cuba, Iran, Saudi Arabia (permit required, rarely granted to tourists), India (registration and permit required, process is slow and difficult for foreigners), and Thailand (technically legal with registration but enforcement is strict and penalties include equipment confiscation and fines up to 40,000 THB / approximately $1,100). If your drone is confiscated at customs in a no-fly country, recovery is not guaranteed. Countries that allow drones with registration: the United States (FAA Part 107 for commercial; recreational requires registration at $5 and the TRUST test), the United Kingdom (CAA registration at 9 GBP/year, Flyer ID required), European Union (EASA registration, varies by member state), Iceland (registration required, banned in many national park areas), New Zealand (CAA registration, maximum 120m altitude, must maintain visual line of sight), and Japan (registration required since June 2022, many urban no-fly zones). Australia requires registration for drones over 250 grams via CASA. Practical drone travel advice: always check regulations before you pack — not after you arrive. The drone laws website and the UAV Coach country database are reliable sources updated regularly. Register your drone in your home country before departure. Carry printed registration documents and your drone's serial number. If you are unsure about a specific location, do not fly. The legal and financial risk of a confiscated $800 DJI Mini 4 Pro and a fine is not worth any photograph. For travellers who want aerial perspectives without a drone: the Iceland Ring Road and similar elevated landscapes offer natural vantage points. Many destinations offer helicopter tours, hot air balloon rides, and viewpoint hikes that provide aerial-style compositions legally and safely. Building a travel photography portfolio. A portfolio is not a photo dump — it is a curated selection of 30-50 images that represent your perspective as a photographer. The framework: choose 5-7 of your strongest destinations, select 5-8 images from each that represent different subjects (landscape, architecture, people, food, detail, atmospheric), and arrange them in a sequence that flows naturally. Free portfolio platforms in 2026: Adobe Portfolio (included with any Creative Cloud subscription), Mylio (free tier), Format.com (free trial, then $9/month), and a simple Instagram grid used intentionally as a portfolio rather than a diary. The portfolio-building process also forces you to evaluate your own work critically. Which images hold up months later? Which looked exciting in the moment but are unremarkable on screen? Which subjects do you consistently photograph well? The answers shape your future shooting — you learn to recognise your strengths and shoot more intentionally toward them. A travel photography portfolio is not vanity. It is the tool that turns a hobby into a practice, and a practice into a skill that compounds over every trip you take. The best travel photographs are not about gear specifications or technical perfection. They are about being present in a place, seeing something worth capturing, and having a camera — any camera — ready to record it. Start with what you have, learn composition before you learn settings, edit with intention rather than with heavy filters, and remember that the photographs you do not take because you left the heavy camera at the hotel are the ones you will regret most.
Editor's tips
- The DJI Mini 4 Pro ($759) weighs under 249 grams, which exempts it from registration requirements in many countries — check local rules before flying
- Start your portfolio with your 20 absolute best images, not your 200 decent ones — curation is the hardest and most important skill
- Back up your photos daily to cloud storage or a portable SSD — a lost or stolen phone with 3,000 unbacked travel photos is a genuine heartbreak
Frequently asked questions
Yes, for most travellers. The iPhone 16 Pro and Google Pixel 9 Pro shoot 48-megapixel images with computational HDR, night mode, and RAW capture that produce excellent results for social media, blog posts, and prints up to 16x20 inches. A dedicated mirrorless camera still wins in low light, fast action, and shallow depth of field — but the gap has narrowed to the point where the phone's advantage in portability and convenience outweighs the mirrorless advantage in image quality for the majority of travel scenarios.
Travel photography in 2026 is more accessible than it has ever been and simultaneously more overwhelming in its options. The iPhone 16 Pro in your pocket genuinely rivals cameras that cost $2,000 five years ago. Mirrorless systems like the Sony A7C II and Fuji X-T5 deliver stunning results for photographers willing to carry the weight. A single versatile lens eliminates the complexity of a multi-lens kit. Lightroom Mobile and Snapseed put professional editing tools on your phone for $10/month or free. But none of this matters if you do not show up at golden hour, do not look for leading lines, do not add foreground interest, and do not protect your gear from the environments you are shooting in. The best camera is the one you carry. The best photograph is the one you take. Everything else is details — important details, interesting details, but details that matter far less than being present, being patient, and being willing to wake up early for the light.
Get there
Flights
One search across 700+ airlines — find the real lowest fare for your dates.
Search flightsWhere to stay
Hotels
Browse verified hotels and stays — instant confirmation, secure booking.
Book on KKdayThings to do
Activities
Tours, attractions, and day trips — free cancellation on most experiences.
Book on KlookAbout the author
Marcus Chen
Hotels & Deals Editor · Based in New York City
Marcus reviews hotels for a living — and has slept in over 400 of them. Before TravelBuzzy, he ran the hotel desk at a major loyalty publication and consulted for two boutique hotel groups. He covers the Americas, Japan, and luxury travel.
Read next — destinations
More from The Edit
Itineraries
Iceland Ring Road — The Definitive 10-Day Self-Drive Itinerary
1,322 kilometres, one road, zero motorways, and every landscape the planet has to offer. I've driven the Ring Road three times — here is exactly how to plan ten days that don't waste a single hour.
19 min read
Itineraries
Backpacking Southeast Asia — The Ultimate 2026 Route
I spent three months moving through Thailand, Laos, Vietnam, and Cambodia on $37 a day. The route hasn't changed much since the banana-pancake trail was coined in the 1990s — but the prices, visa rules, and infrastructure have. Here's what the classic Southeast Asia backpacking loop actually costs and how to do it without burning out or going broke.
18 min read